Recently I’ve started to brew my own beer - I’m on my third batch now. I got the urge after wanting to make a game about managing a pub. That got me to discover another game via Steam called Beer Brewing Simulator. Then after playing that for a while, it seemed easier than I thought - so I decided to give it a go in real life!
Several things put me off doing this before, but I realised they’re misconceptions. That’s something I’ve learned during my time off work: if there’s something you want to do but think you can’t for whatever reason, chances are you probably can (and should!). Challenge whatever assumptions are holding you back! In my case, these assumptions were:
- Brewing beer needs a lot of expensive equipment
- You need a lot of space
- You can’t make good beer using malt extract
Brewing beer (doesn’t) need a lot of expensive equipment
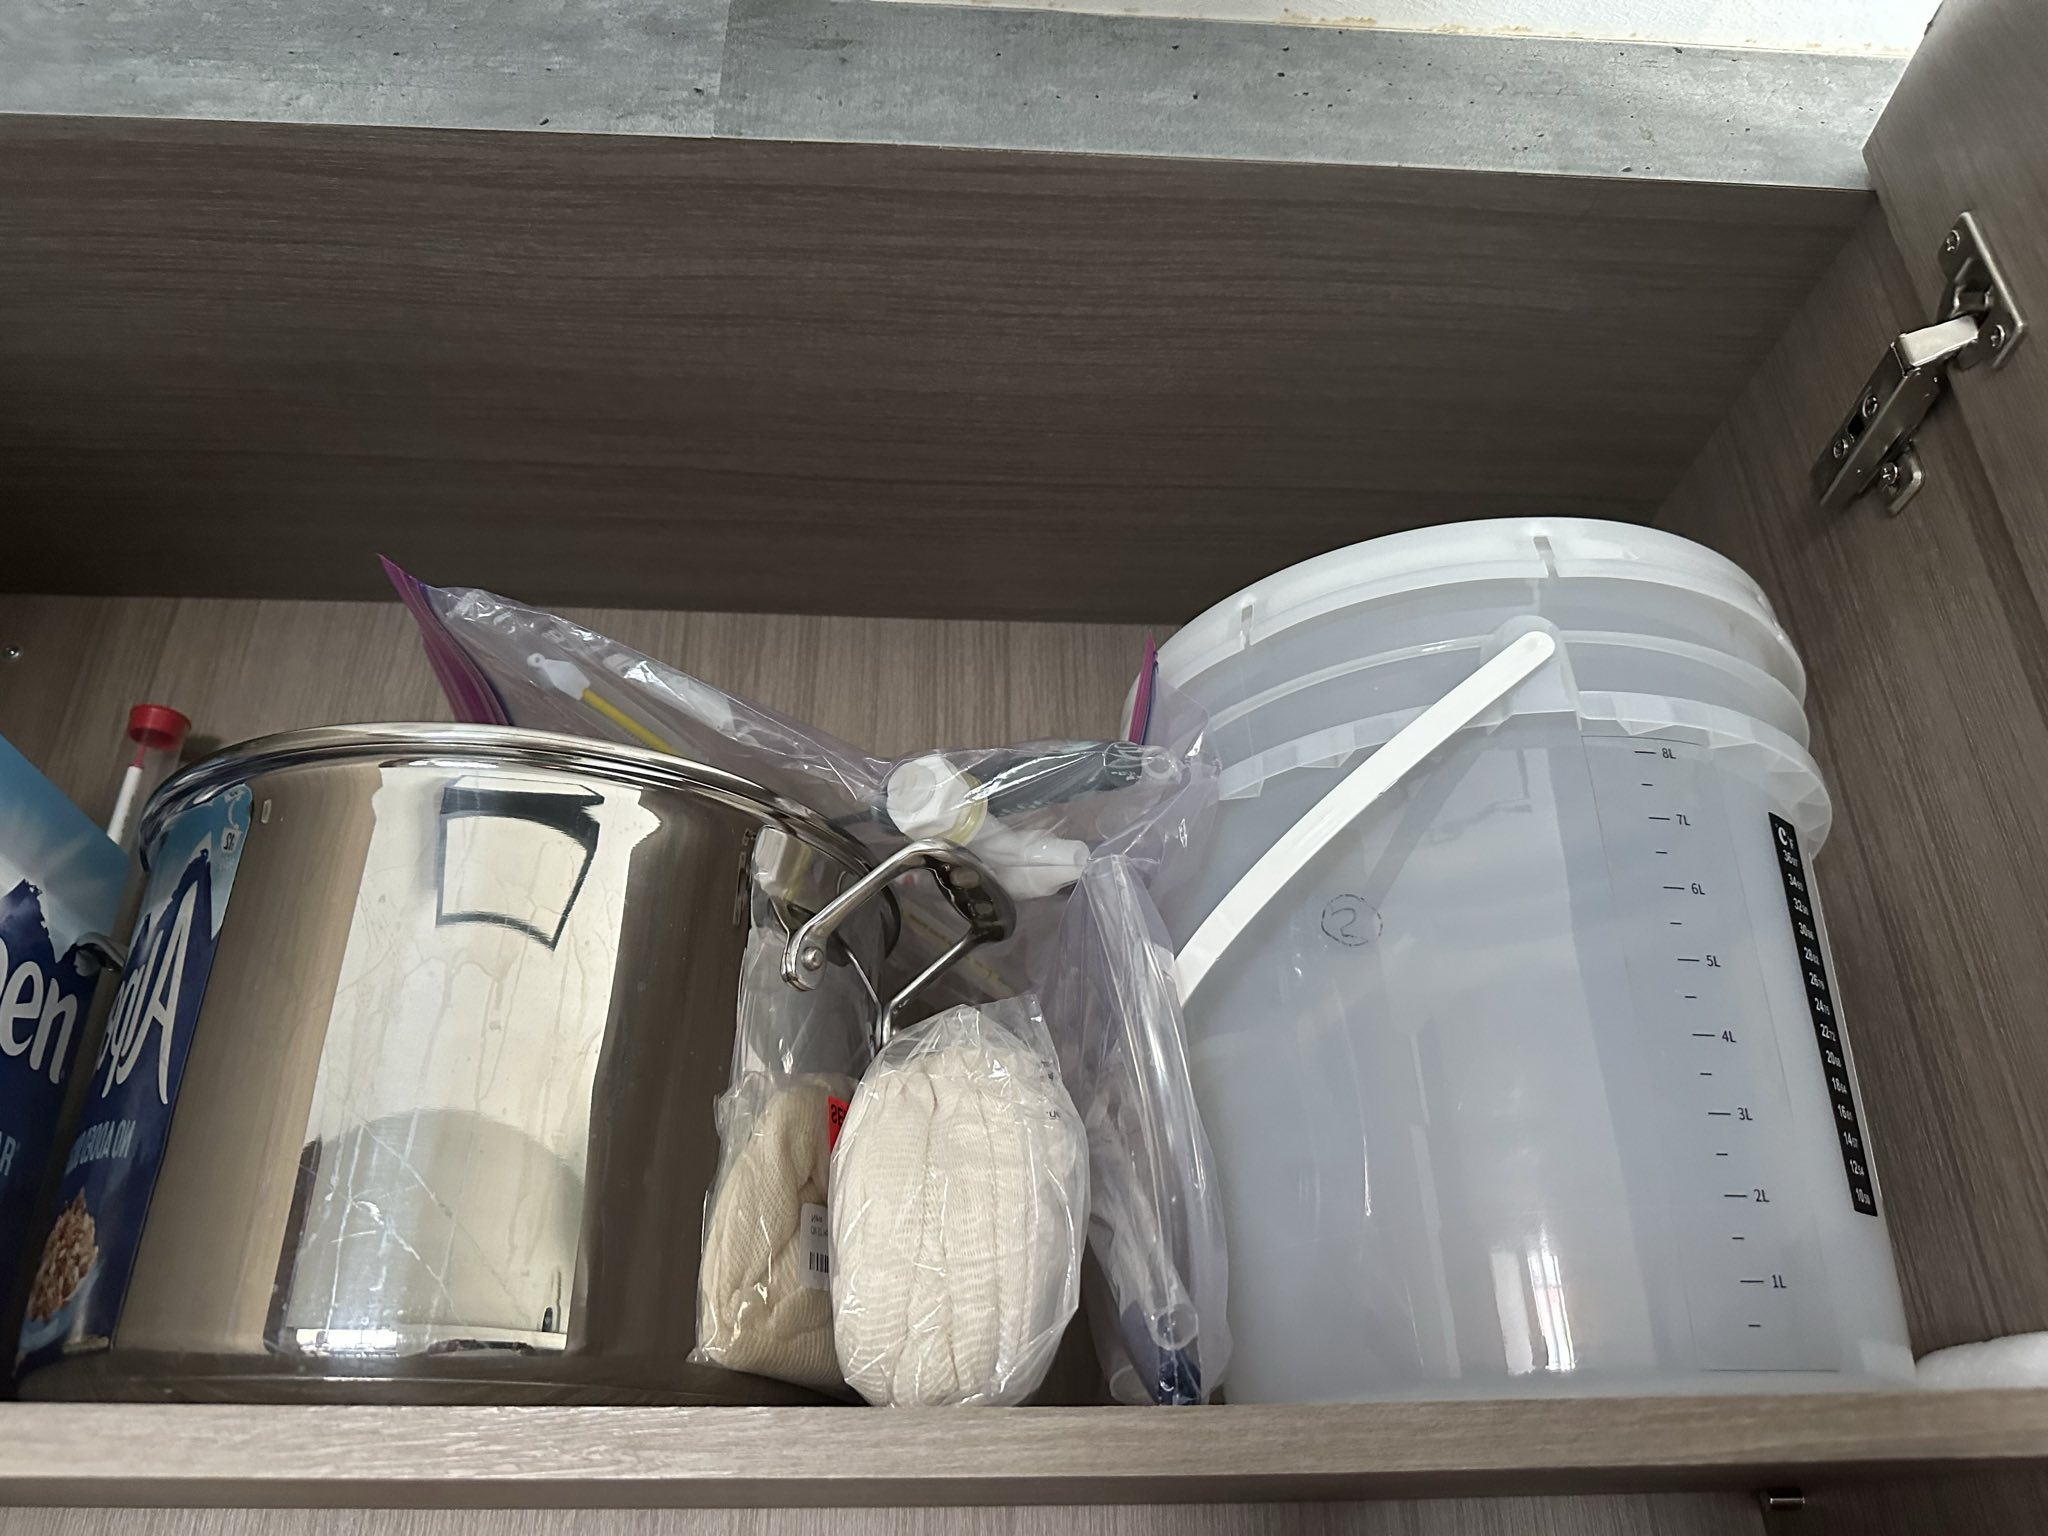
I think I got this idea because there’s a lot of ‘all in one’ brewing systems that are quite expensive. I haven’t really looked into them in detail, and perhaps they are worth the money, but they’re absolutely not required. You can brew beer with just a few items, some of which you’ll already have in the kitchen. The main things are:
- A large brew pot. In my case, a simple 9L stock pot.
- A fermentor. I use a couple of 10L plastic buckets with airlocks and spigots, but one is optional.
- Muslin bags or large tea strainers, for steeping malts and boiling hops.
- Sanitizing spray
- Thermometer
- Hydrometer
- A bar fridge and temperature controller (if in warm climates like Singapore).
I got all the above from my homebrew store. I already had the fridge from my previous attempt at brewing using a kit.
You (don’t) need a lot of space
In many guides on brewing beer you’ll see people brewing using huge pots and stoves in their garage or outdoors. Of course brewing at that scale will be a challenge in confined spaces like my kitchen in Singapore, but there’s no rule against scaling down. I aim for a final volume of 5-6 litres, which gives me 9-10 500ml bottles at the end. That’s more than enough for me to experiment with and drink over several weeks, and I have room to brew even more if I wanted.
My fridge sits in the corner of our kitchen, and all my equipment is stored in the top of the kitchen cupboard when not in use. The beers are conditioned in bottles and then stored in the fridge. If you wanted to expand into larger batches or kegging, you would need more space.
You can’t make good beer using malt extract (you can)
I followed an extract kit when I first tried brewing beer long ago. It came with a can of liquid malt extract which I boiled, but I didn’t add any malts of hops of my own. It came out OK but not very interesting. I thought that making the kind of beers I like to drink - strong IPAs, imperial stouts, milk stouts etc - would require going ‘all grain’ and brewing from scratch. It doesn’t!
In fact, you only need malt extract for the base of the beer, and a basic light malt extract is good enough for almost any style. Even when making stouts, it’s actually recommended to start with a light malt extract and add your own dark malts than use a dark malt extract, so you can get more control over the ingredients. You can absolutely make hoppy IPAs and heavy stouts using malt extract, and they taste great! The only style I’ve come across so far that really requires going all-grain is smoked beers, because finding smoked malt extract is very difficult (I couldn’t).
Basically, when brewing wih malt extract, you:
- Mix malt extract with water
- Steep specialty malts (eg. chocolate, roasted barley, etc)
- Boil the malt extract
- Add hops
- Add yeast, ferment the beer, dry-hop if you want, add sugar and carbonate in bottles, etc etc
When using all-grain, all the grains are ‘mashed’ together to produce the wort, and then it’s boiled as usual (step 3 onwards). The malt extract is only a small part of the whole process.
My Beer
So far I’ve made a milk stout, a black IPA and I’m currently brewing a hazelnut brown ale. The black IPA turned out great, so I’ll share the recipe here. It was based on BrewDog’s ‘Black Hammer’ IPA which you can find the recipe for (and much more) in their DIY Dog Book. I used Brewer’s Friend to create the recipe.
Hoppy Moon Black IPA (5L batch)
Stats
Original Gravity: 1.061 Final Gravity: 1.012 ABV (standard): 6.45% IBU (tinseth): 147.37 SRM (morey): 50 Mash pH: 0
Fermentables
900 g - Light Dry Malt Extract (DME) (78.3%)
Steeping Grains
200 g - German - Carafa III (17.4%)
50 g - American - Roasted Barley (4.3%)
HOPS
7 g - Centennial, Type: Pellet, AA: 10, Use: Boil for 60 min, IBU: 30.93
10 g - Columbus, Type: Leaf/Whole, AA: 15, Use: Boil for 60 min, IBU: 60.25
7 g - Centennial, Type: Leaf/Whole, AA: 10, Use: Boil for 15 min, IBU: 13.95
7 g - Columbus, Type: Leaf/Whole, AA: 15, Use: Boil for 15 min, IBU: 20.93
14 g - Centennial, Type: Pellet, AA: 10, Use: Hop Stand for 15 min, IBU: 12.18
7 g - Columbus, Type: Leaf/Whole, AA: 15, Use: Hop Stand for 15 min, IBU: 9.13
24 g - Amarillo, Type: Pellet, AA: 8.6, Use: Dry Hop for 7 days
24 g - Citra, Type: Pellet, AA: 11, Use: Dry Hop for 7 days
24 g - Simcoe, Type: Pellet, AA: 12.7, Use: Dry Hop for 7 days
Yeast
Fermentis / Safale - American Ale Yeast US-05: 14g
Method
This is a simplified version of the brewing process and assumes some familiarity. For a full guide to brewing, pick up the excellent book How to Brew by John Palmer.
Start by cleaning and sanitizing all the equipment. This will take 1-2 hours.
Then start the brew:
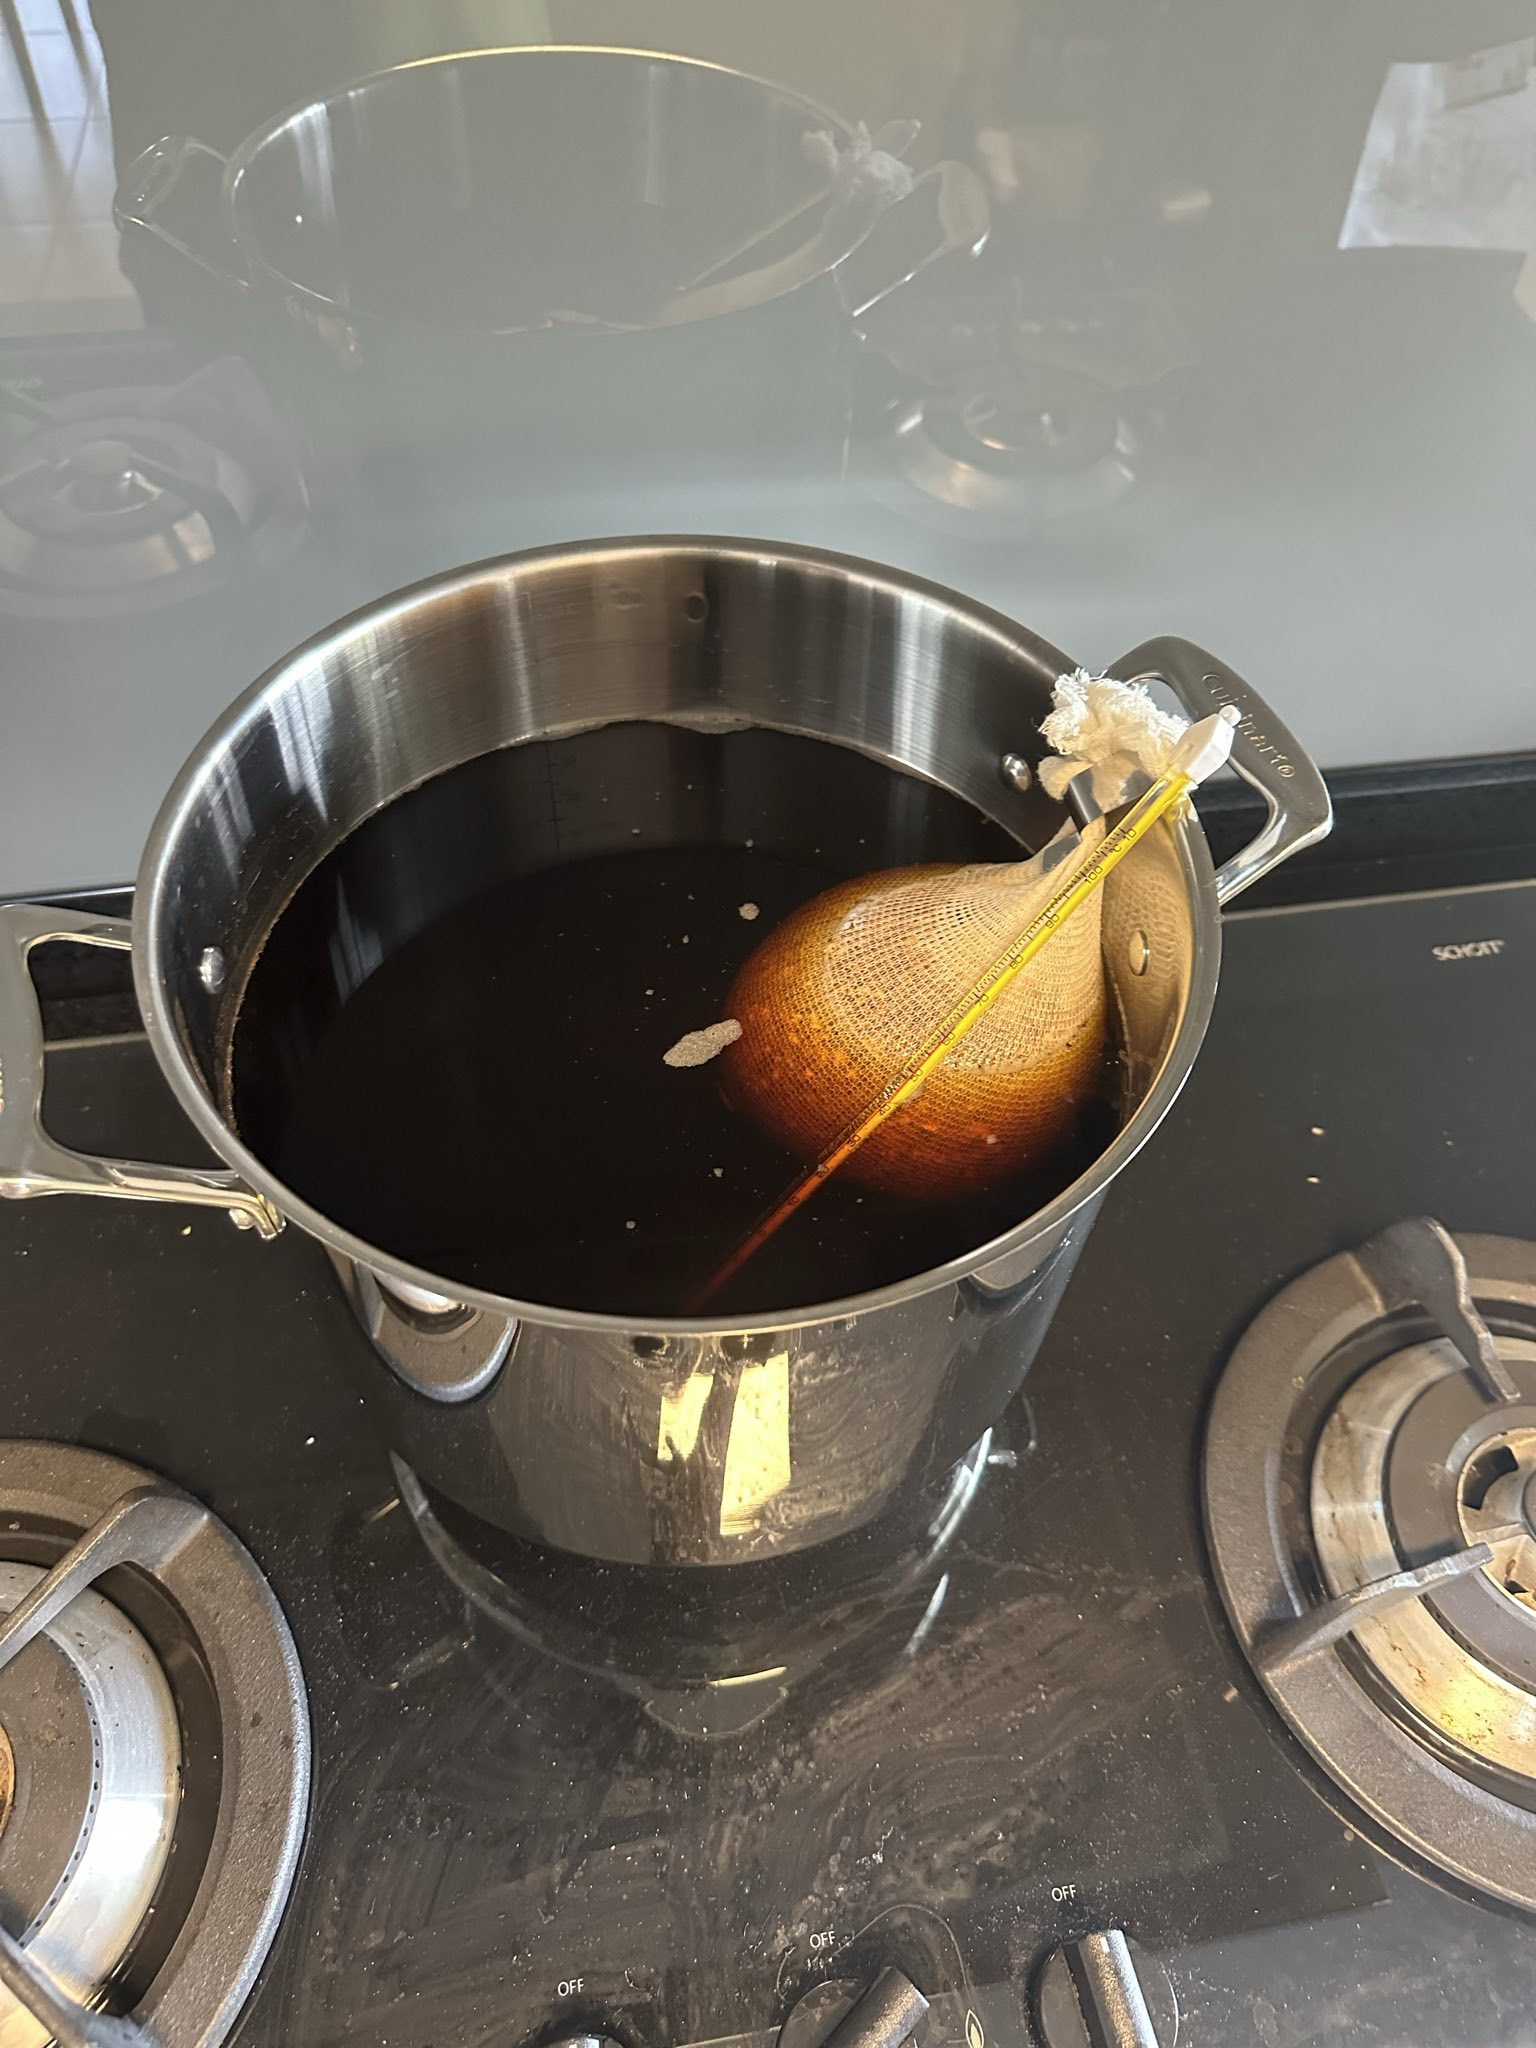
- Add 7L of water to the stock pot
- Mix in 900G of malt extract
- Heat to 70c
- Steep malts for 30min, maintaining temperature of around 70c
- Remove malts and heat to boil
- Add first hops
- After 45mins, add second hops
- After 15mins, turn off heat and wait until temperature reaches ~80c. Add third hops and wait 15 mins. This is called a ‘hop stand’.
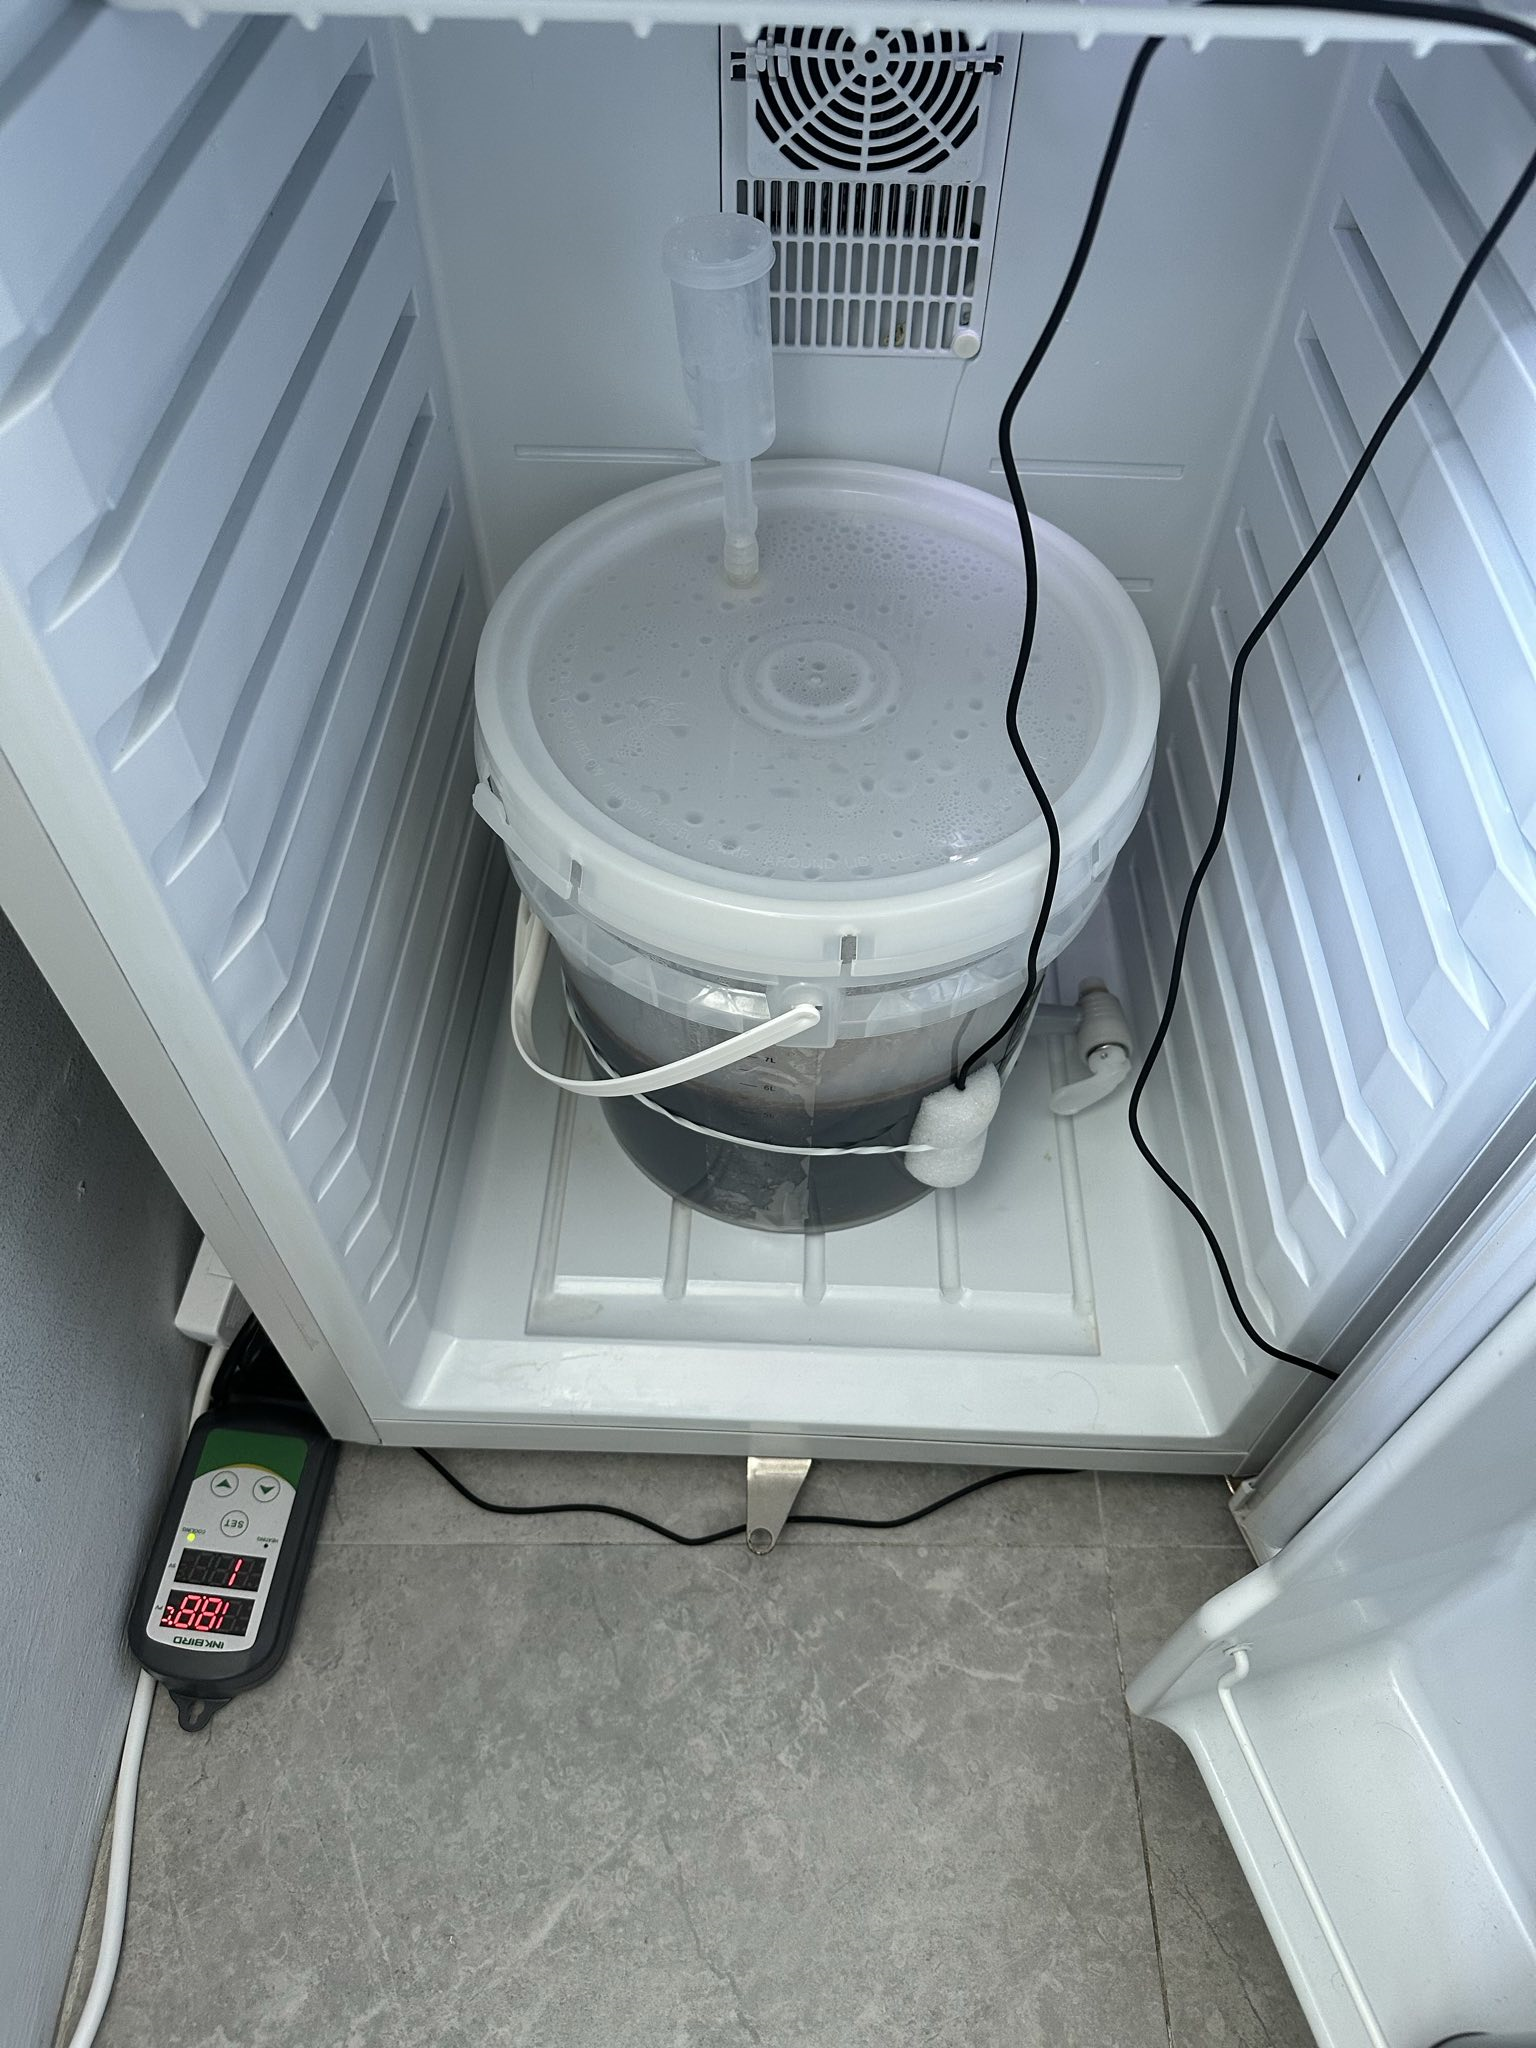
- Put lid on pot, transfer to sink and immerse in ice bath until temperature reaches ~15c.
- Pour contents of pot into fermenter bucket (leaving trub in pot).
- Pitch yeast (I used the entire 14g packet), fit lid and airlock securely.
- Place fermenter in fridge and set temperature controller to 18-20c.
When fermentation is finished, it can be bottled using various methods. I transferred the beer to my other bucket, added 40g dextrose and then transferred to 500ml bottles which went back in the fridge at 23-25c.
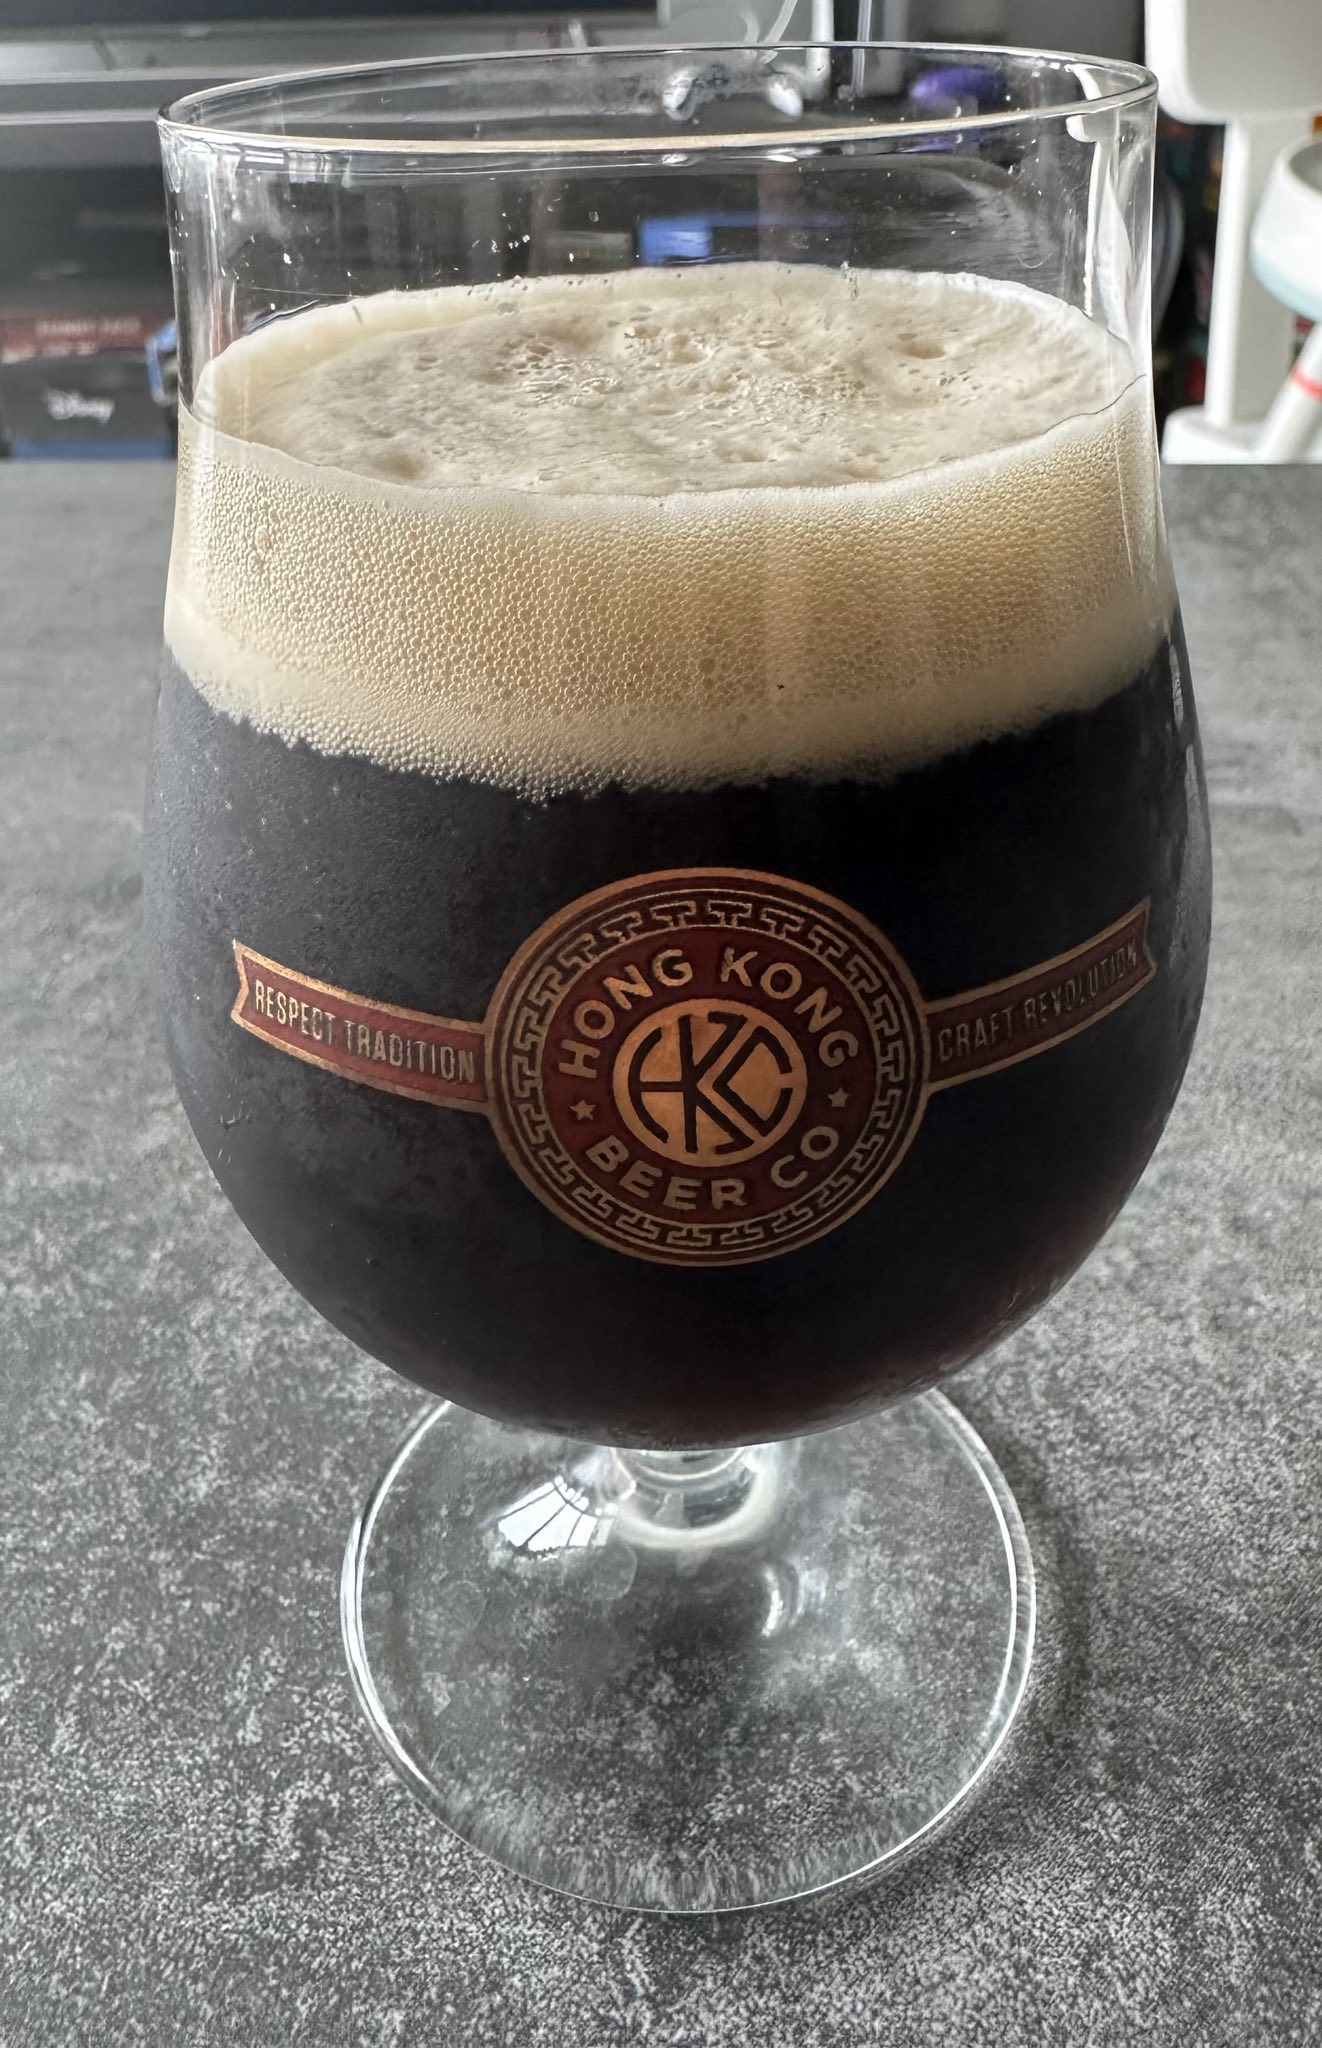
Here are some photos from my brew and the final result:
Brew in a Bag
For my third batch, which is currently fermenting, I tried the Brew in a Bag (BIAB) technique. It’s a type of all-grain brewing where you basically ‘mash’ all the malts in a giant tea bag for an hour, then drain the bag and boil as normal. It looks like this:
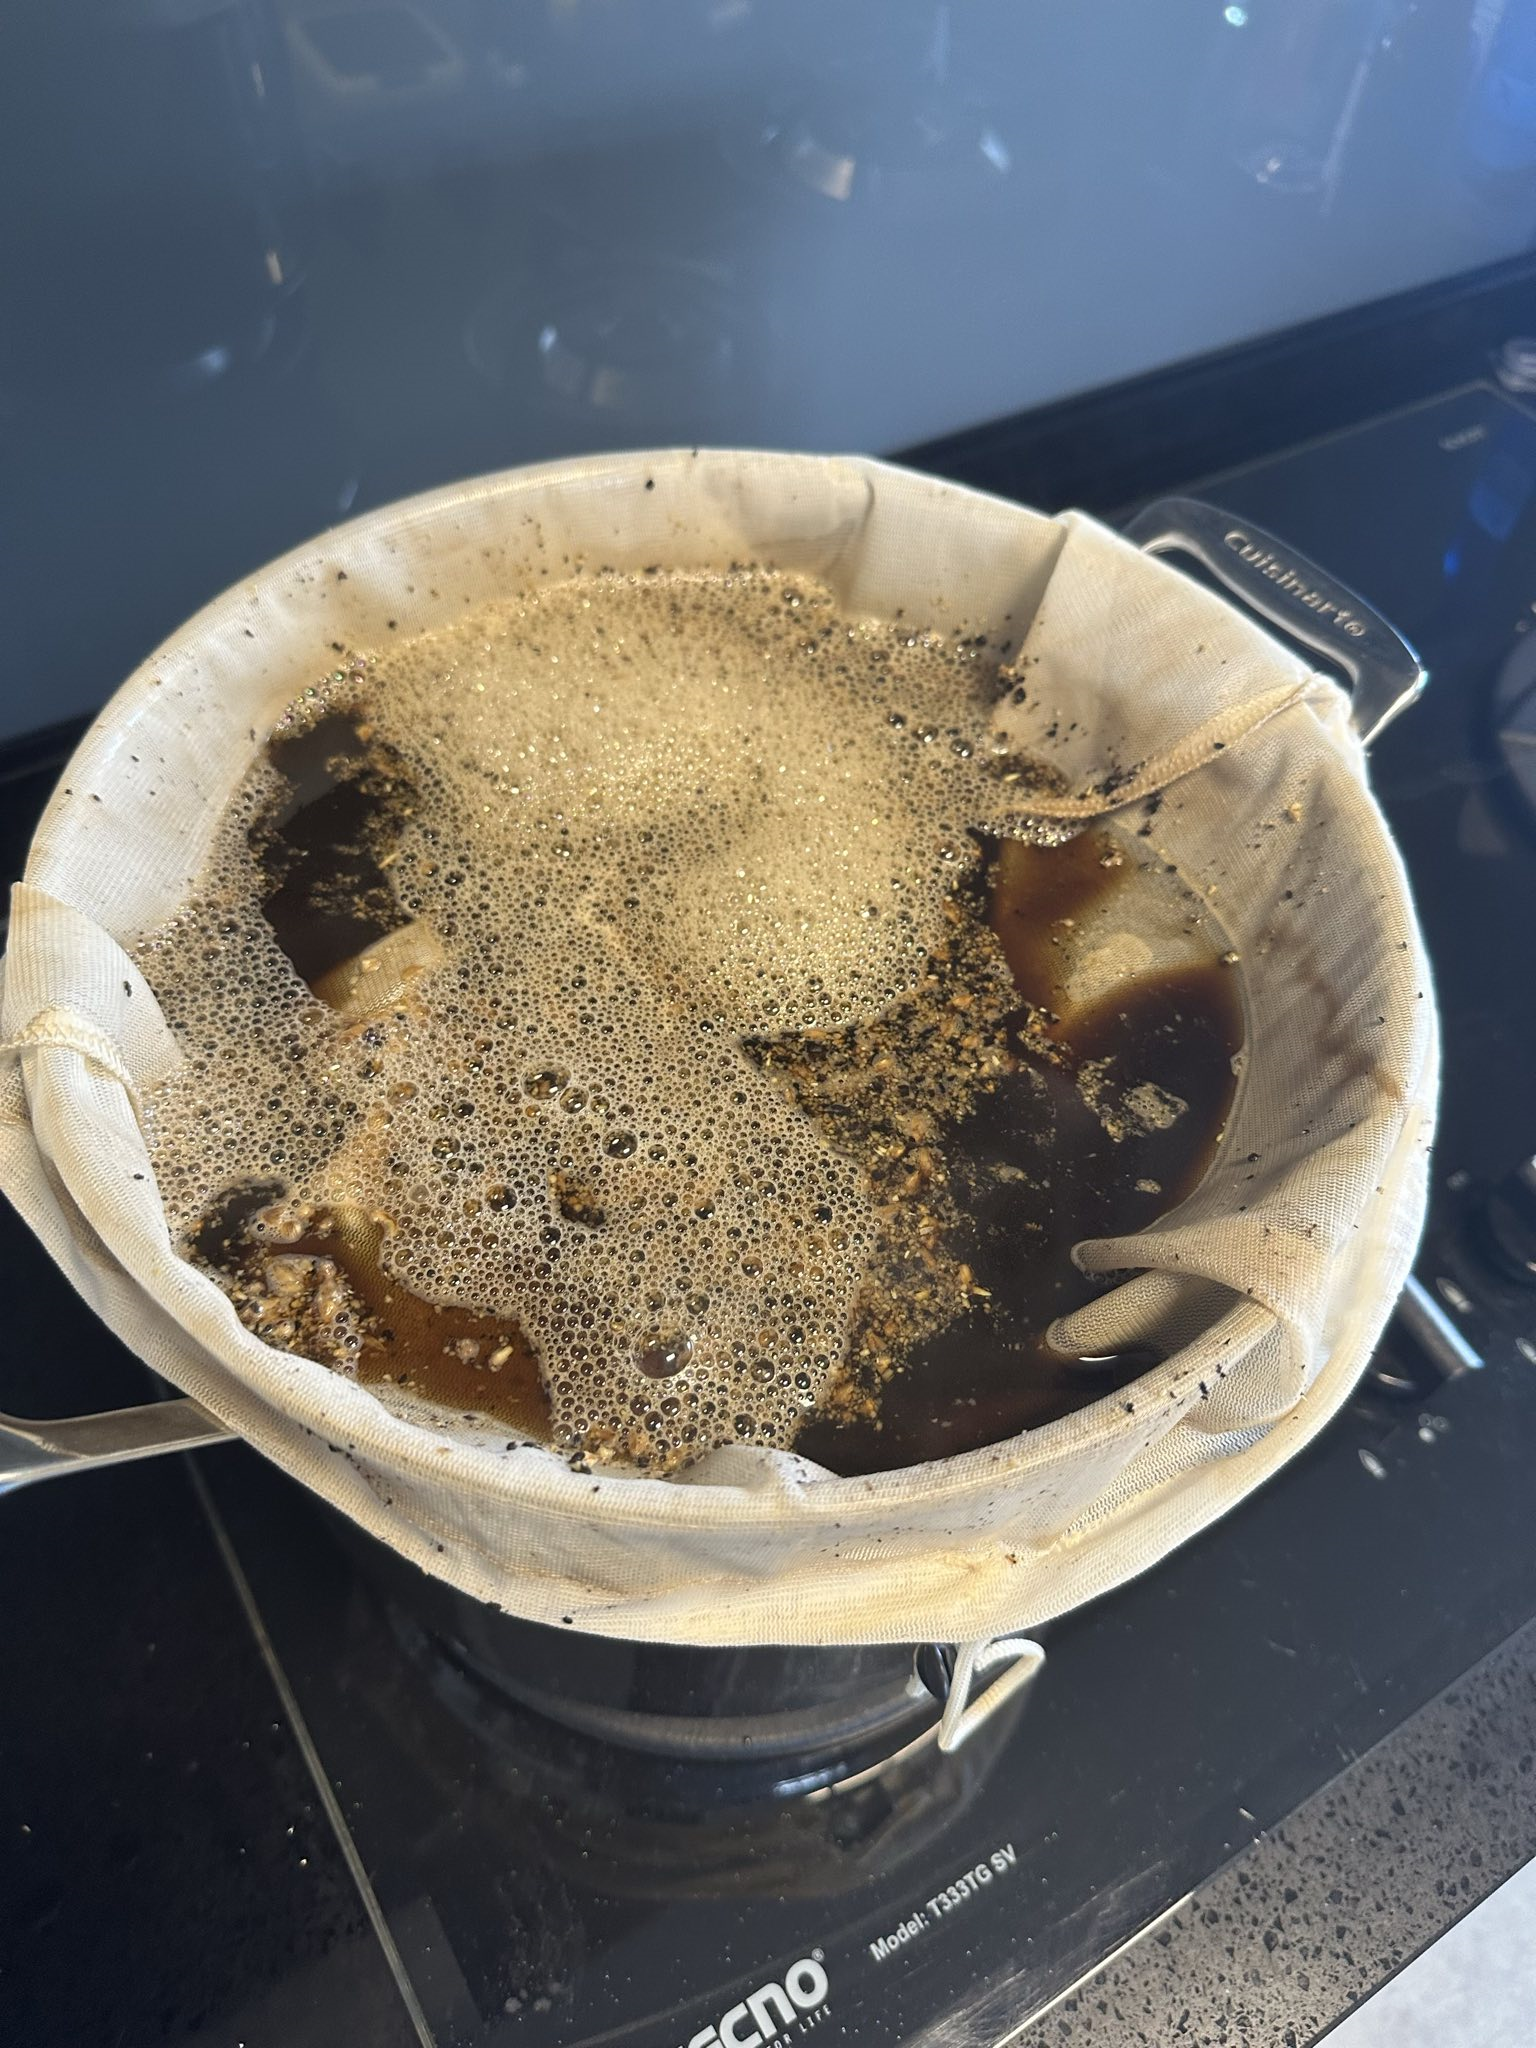
I can’t comment on how it’s turned out until it finishes fermenting, but the process wasn’t too difficult. I wouldn’t like to do it for larger volumes because it involves lifting the wet bag which is quite heavy, but other than that it was quite straightforward. The main downside is it requires a larger pot if you have a lot of grain (I didn’t need much for this one but it was difficult to avoid spillage), and there’s more to clean up afterwards. I also found that there was a lot of trub in the kettle and I’m not sure why - maybe because the grain was crushed too fine for the bag? Since I wasn’t prepared for this I had to pour most of it into the fermenter bucket. I’m hoping that will settle before I bottle it so it won’t affect the end result too much, but I’ll have to wait and see.
Final thoughts
Homebrewing beer turned out a lot less complicated than I thought it was going to be, and I’m glad to have picked it up again. I was very happy with how my black IPA turned out - it absoulutely nails the classic American IPA flavour and hop bitterness I was going for. But it does take most of a day and I’m not sure how much time I’ll have for that once I go back to work. It’s mainly cleaning and sanitizing that takes the longest time, but that’s also the most important part of brewing, so if you take up this hobby you have to be prepared so be doing a lot of washing of pots, buckets and brewing equipment!